PayPal Configuration
Register for a developer account at https://developer.paypal.com and enter the dashboard at https://developer.paypal.com/dashboard.
I. Environment Variable Configuration
Here are the items that need to be configured in the root directory .env.local.
1. PAYPAL_MODE
For test environment, select this and write PAYPAL_MODE=sandbox in .env.local.
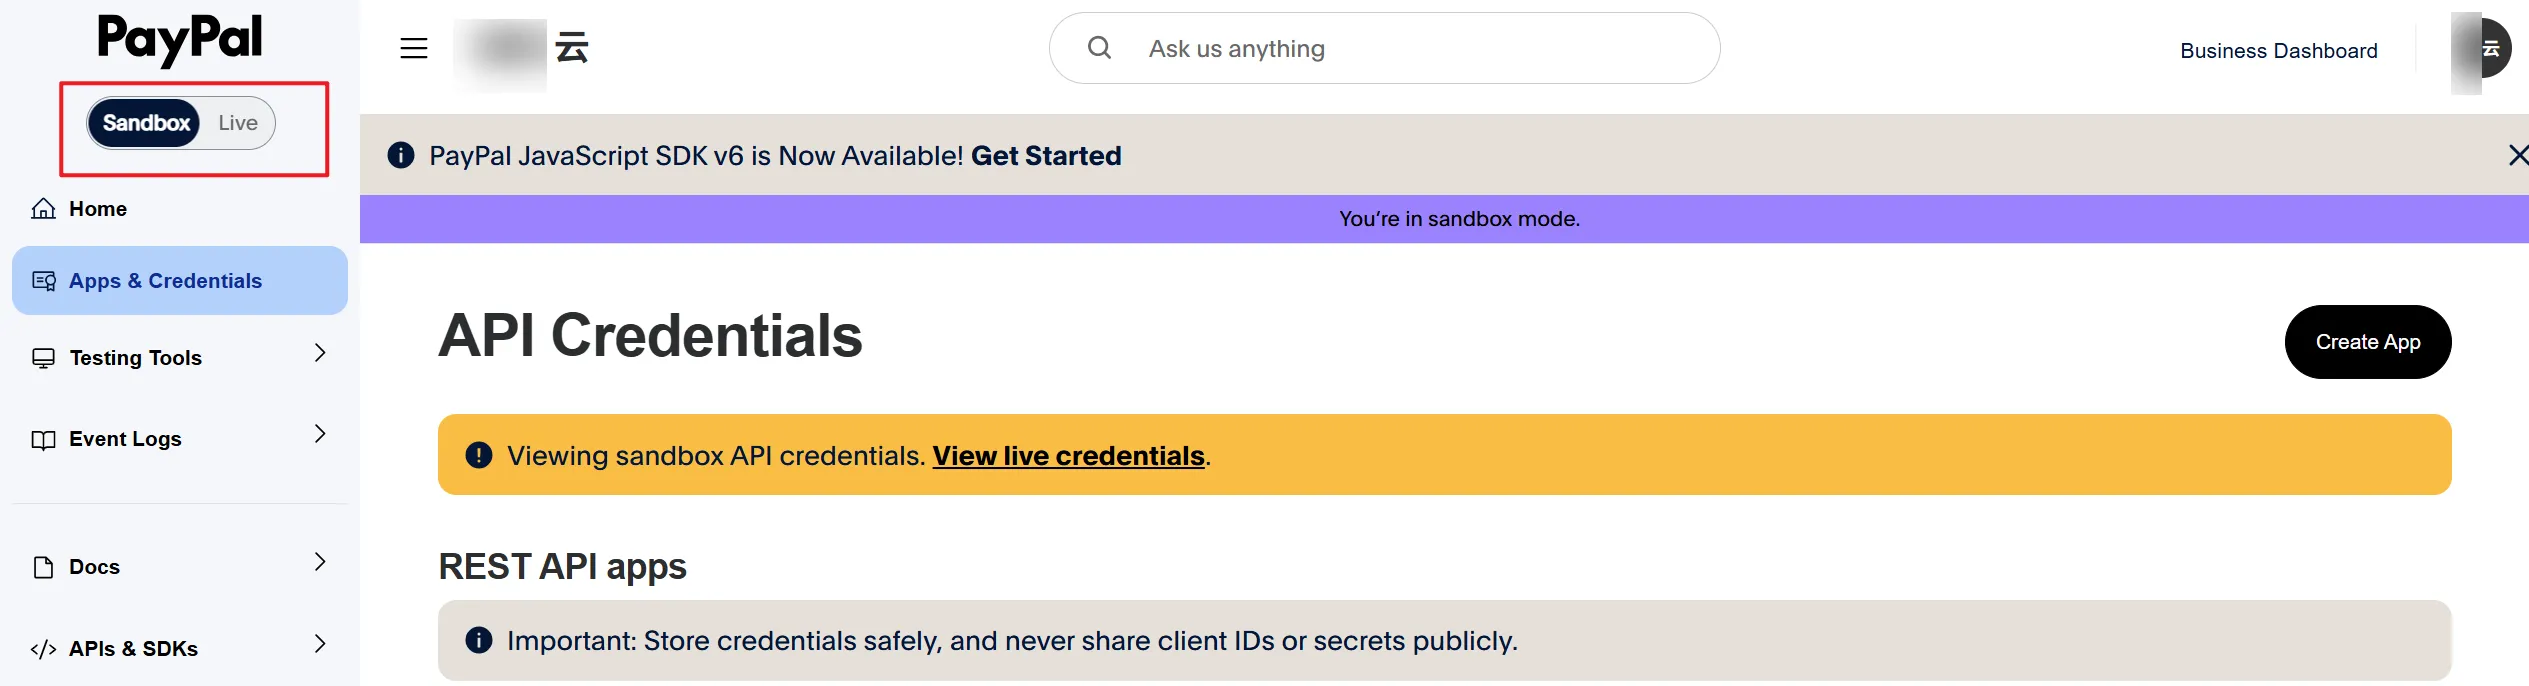
For production environment, select this and write PAYPAL_MODE=live in .env.local.
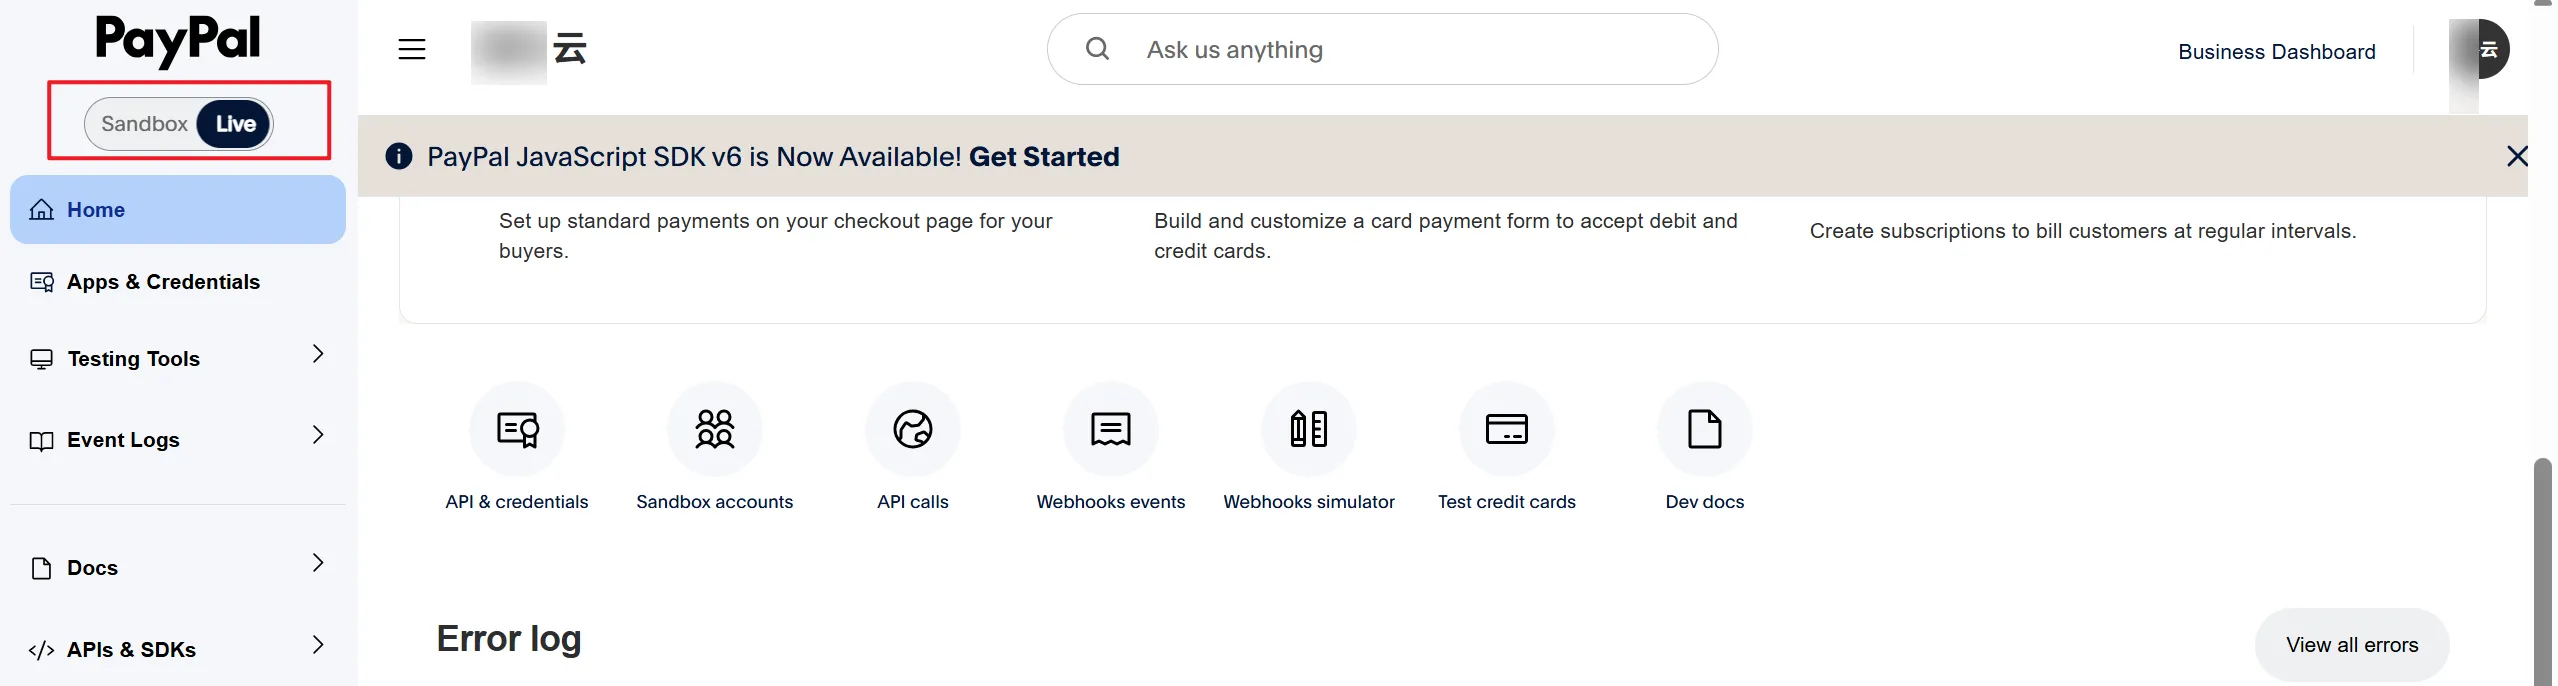
2. NEXT_PUBLIC_PAYPAL_CLIENT_ID, PAYPAL_SECRET
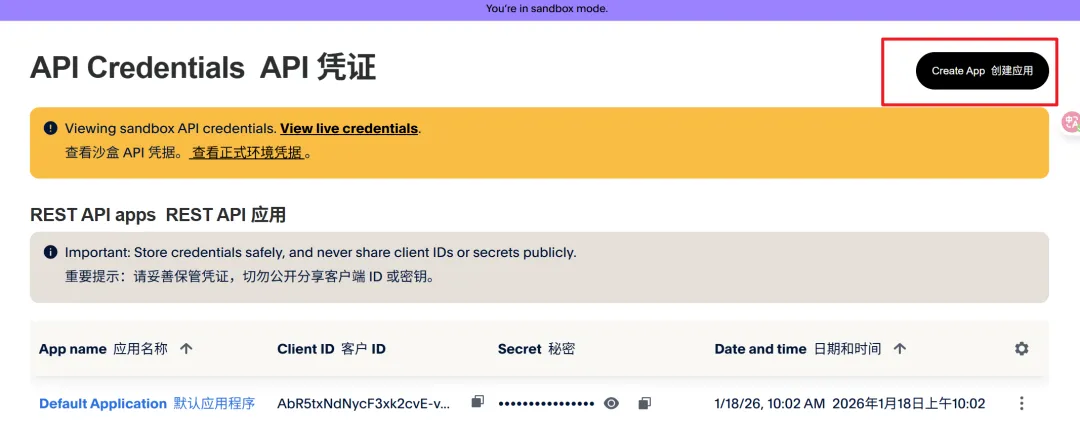
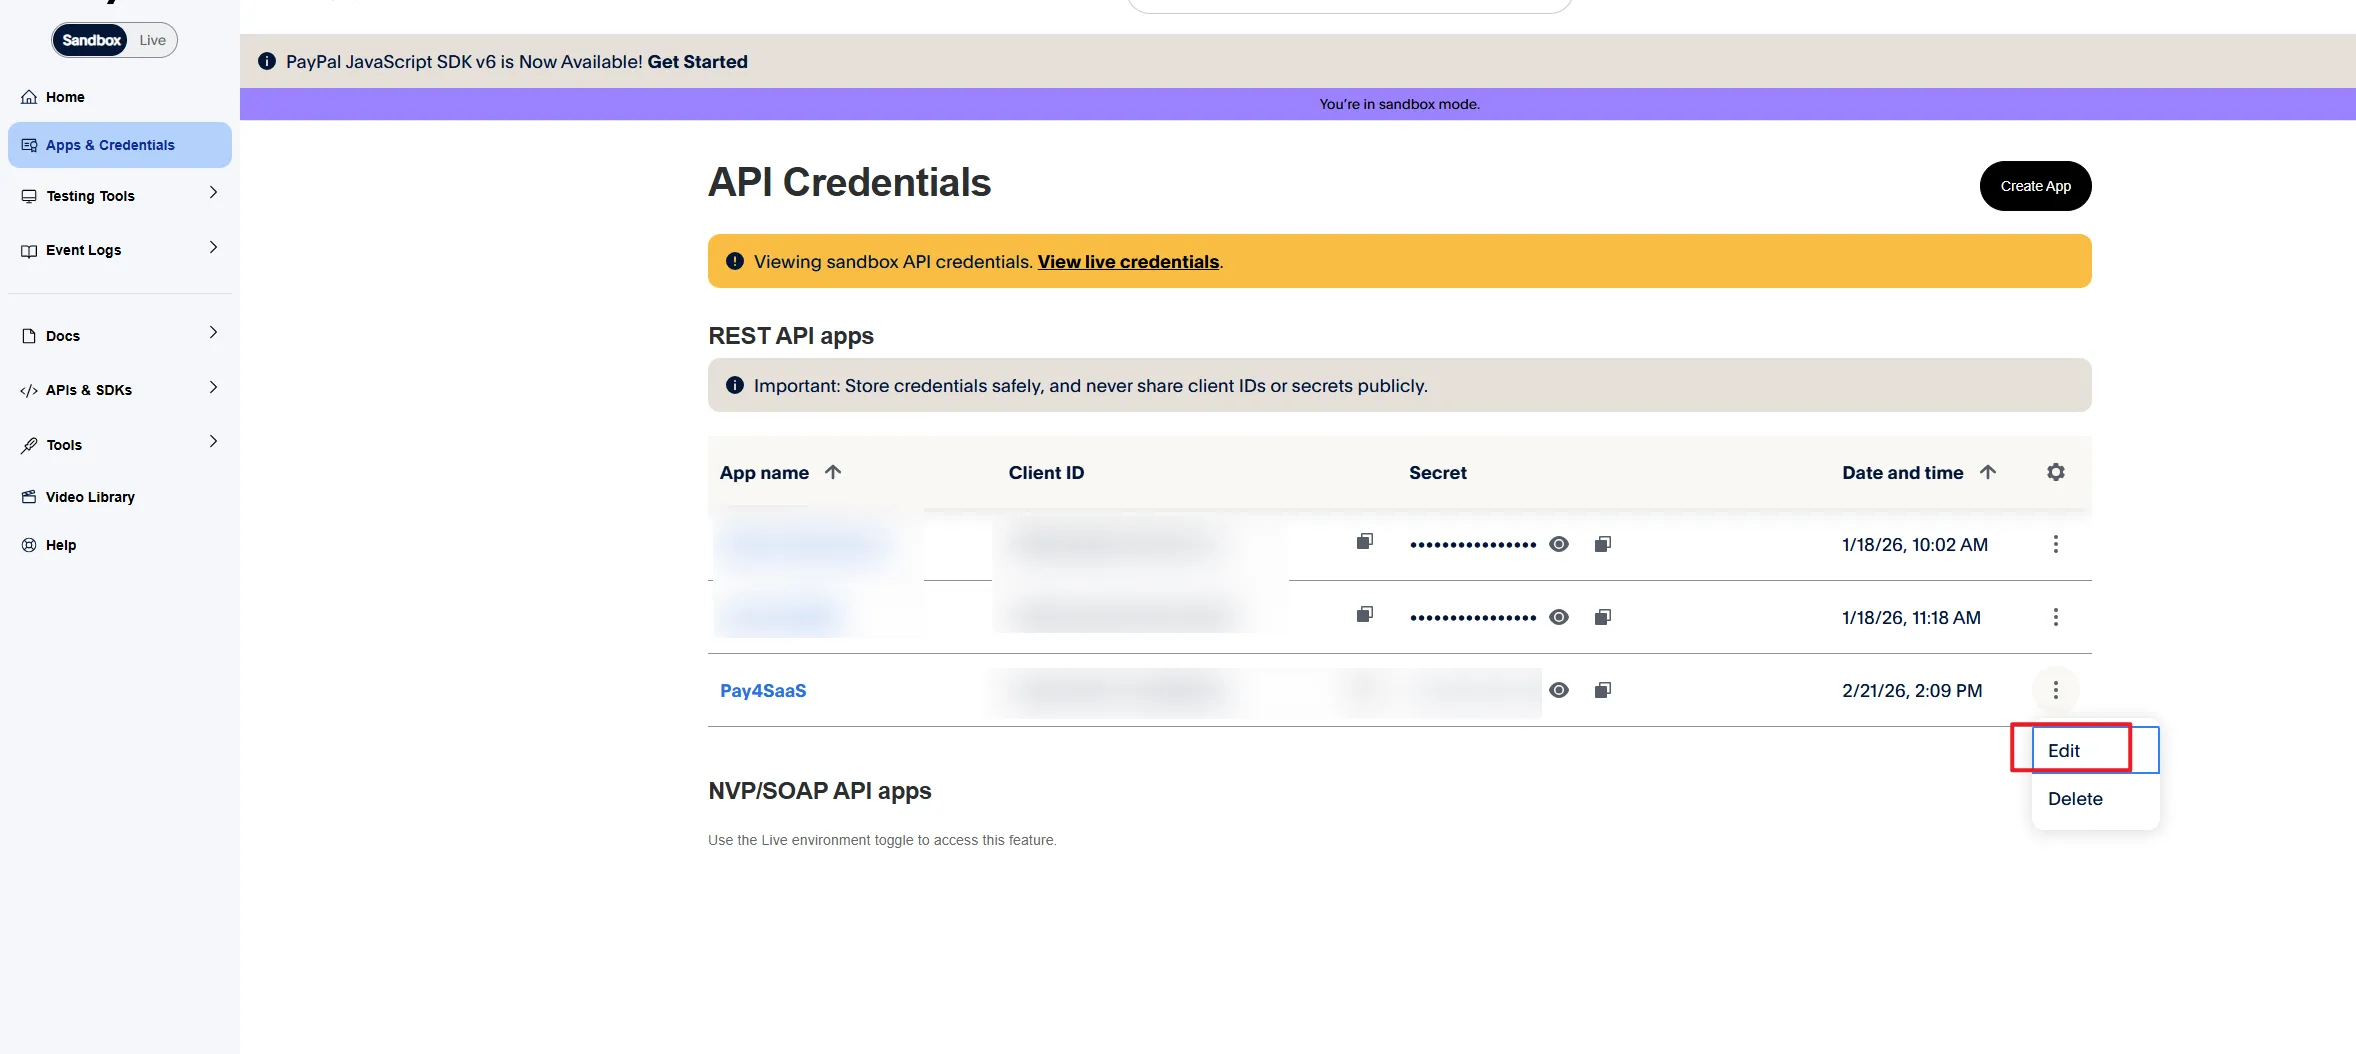
Scroll down and find the "API & credentials" menu.
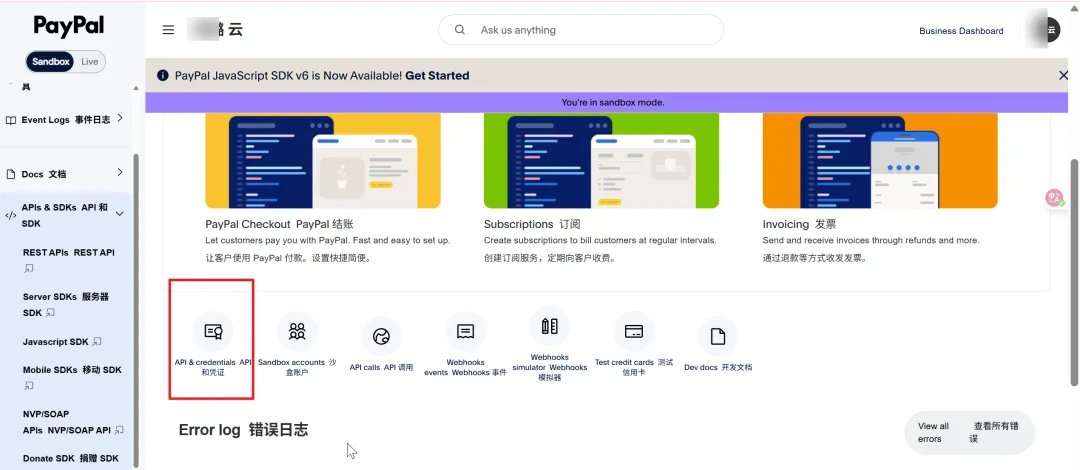
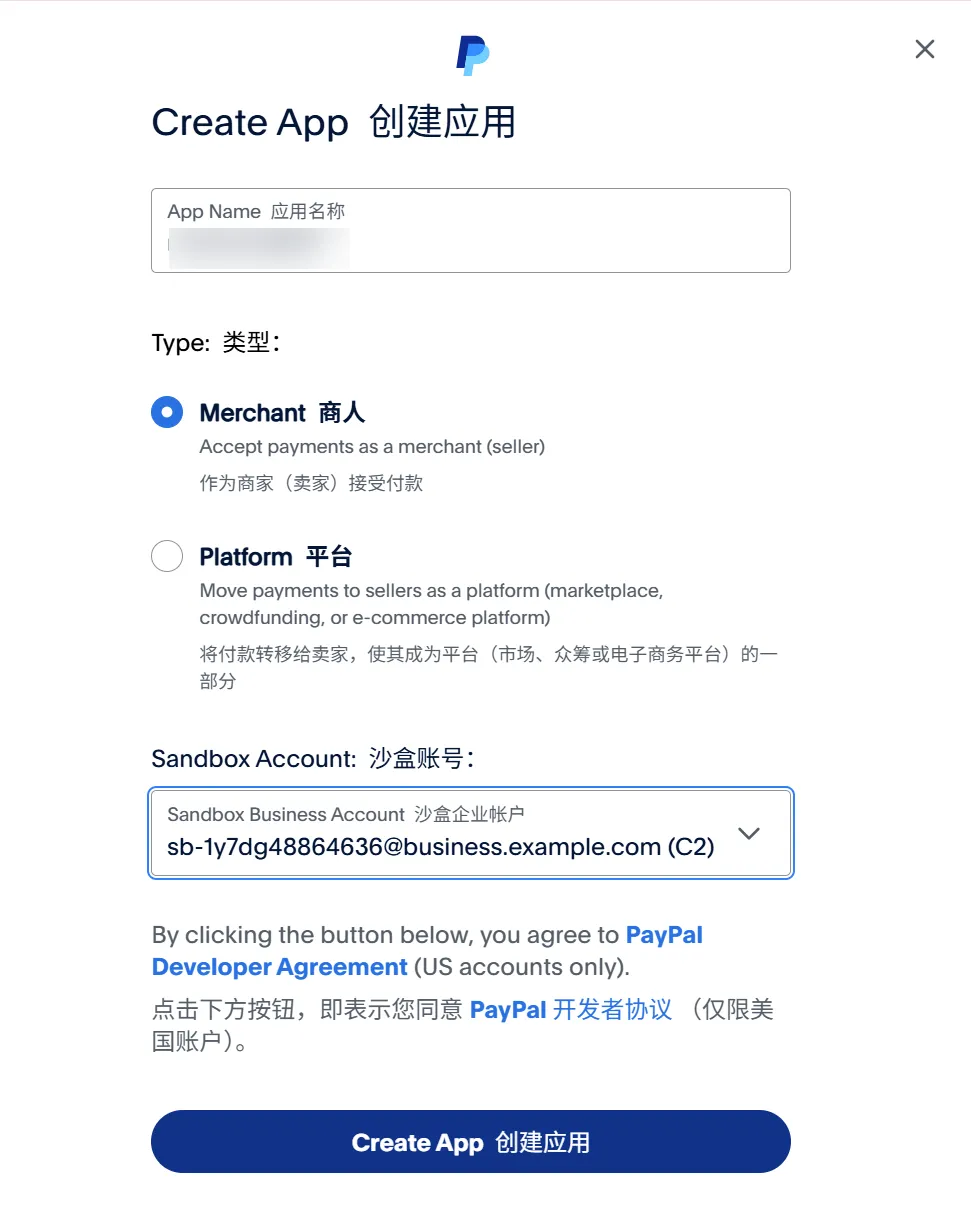
Using the test environment as an example here (production environment is the same), click Create.
Fill in the name.
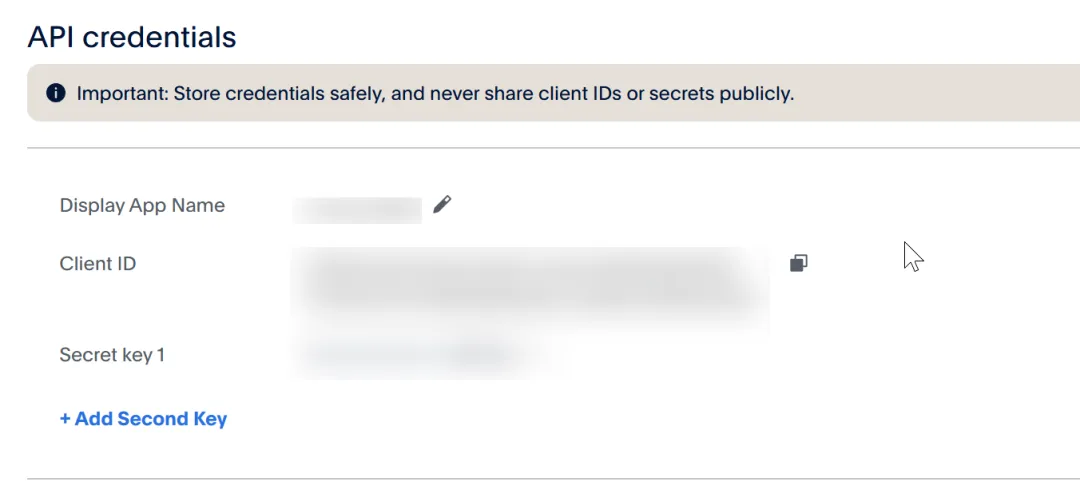
Then you can see the ID and Secret. Fill them into NEXT_PUBLIC_PAYPAL_CLIENT_ID and PAYPAL_SECRET in the root directory's .env.local file respectively.
Should you select these 2 items in features?
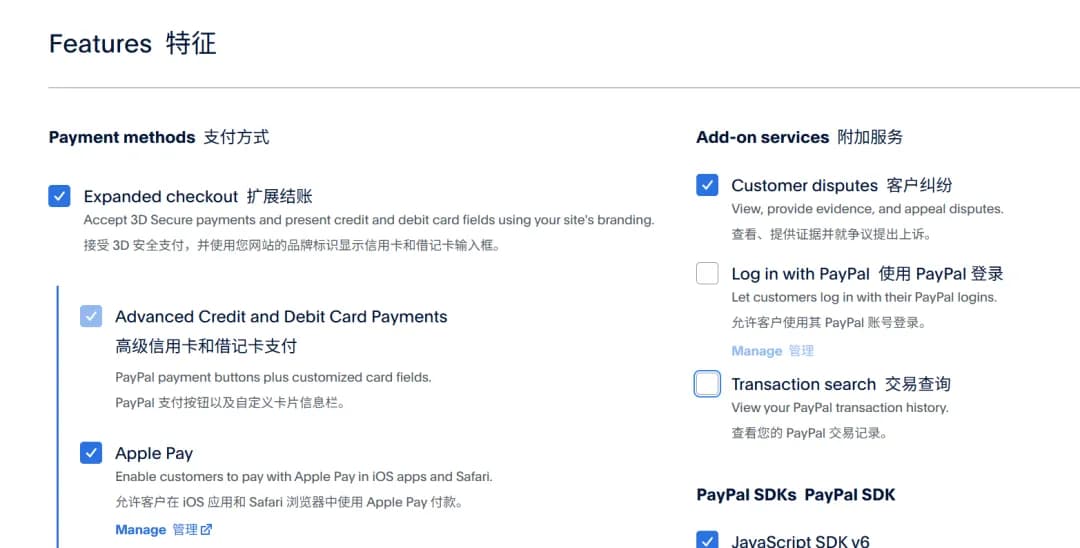
Log in with PayPal is not needed because we've already implemented Google + Supabase Auth.
As for Transaction search, if you want to display all PayPal transactions in your own admin dashboard and view transaction records and create a reconciliation system without logging into the PayPal website, you'll need it.
So this can be selected. Checking it won't affect anything and might be useful later; not selecting it is also fine since you can modify it later.
3. PAYPAL_WEBHOOK_ID
The core purpose of Webhook ID is one thing: signature verification to prevent forgery. Without it, you can't securely process payment callbacks, and thus can't reliably activate memberships for users or record deduction records.
How to get it? Go back here: https://developer.paypal.com/dashboard/applications, and click Edit.
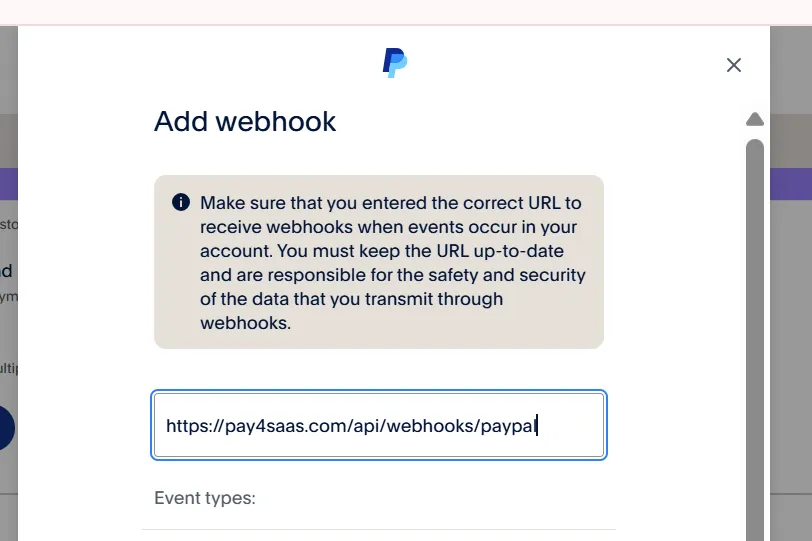
Click Add.
 For URL, fill in
 https://yourdomain.com/api/webhooks/paypal.
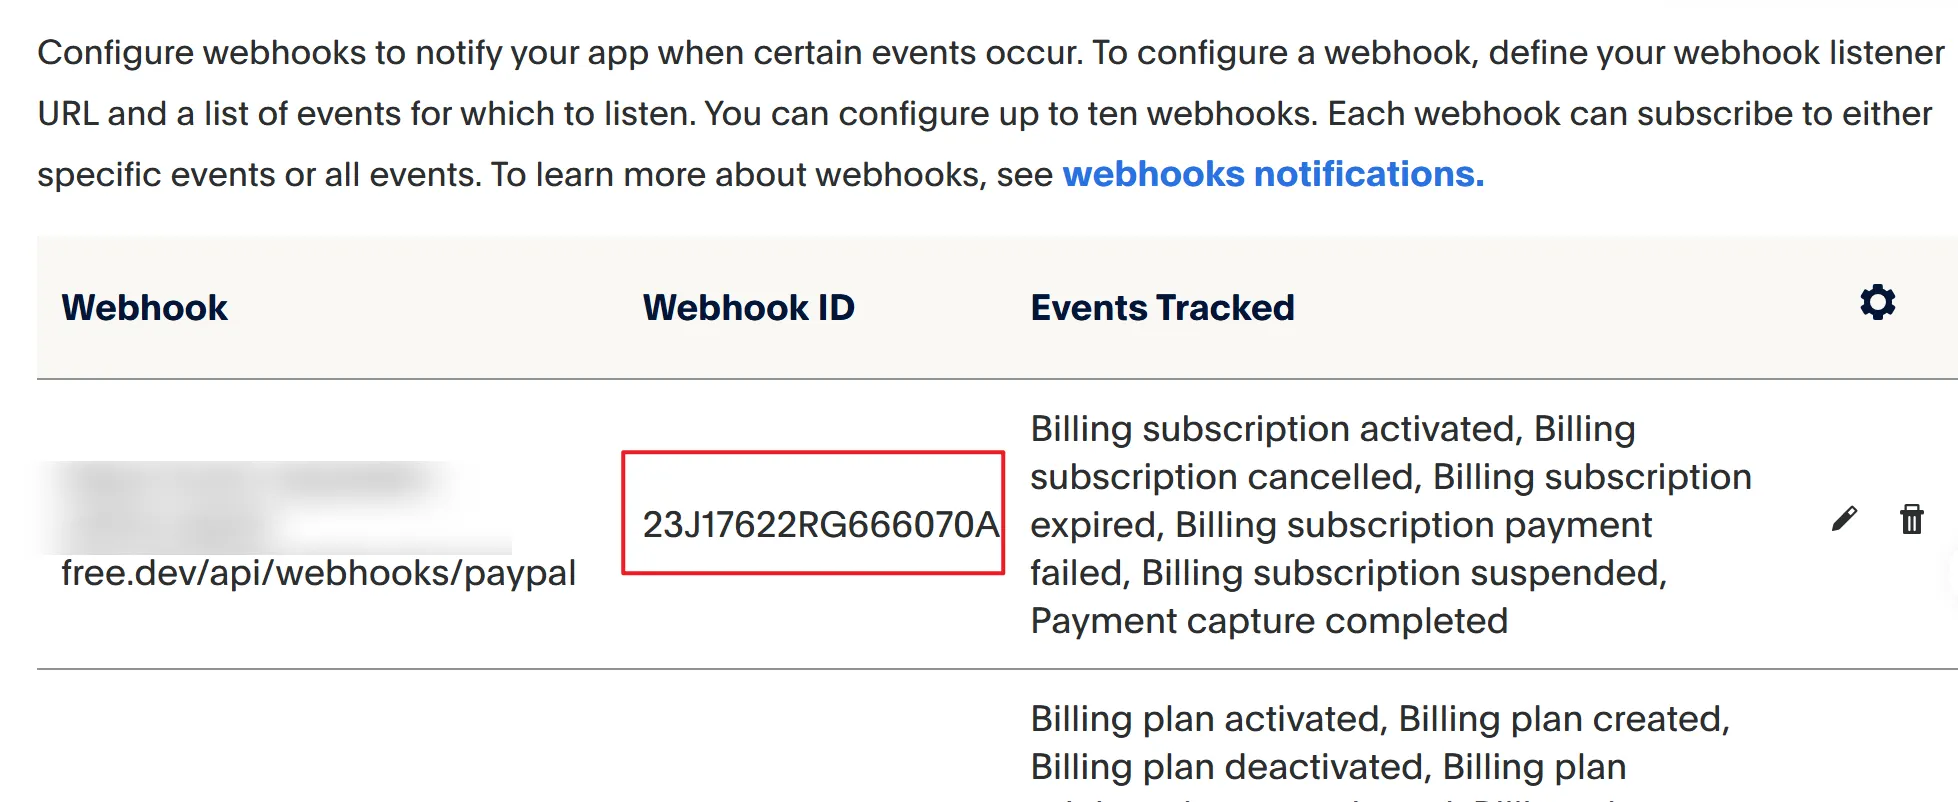
Then, for events, focus on Billing subscription + Payments for subscriptions, Checkout + Payments for one-time purchases, and add Customer dispute for dispute handling.
 After saving, you'll see the webhook ID. Fill it in.
4. Create Subscription Product and Get Product ID
If your pricing model is credit-based or one-time purchase, this step is not needed.
If you're doing monthly/yearly subscriptions, creating subscription products in PayPal is somewhat special. Unlike Creem where you can fill in forms, you need to use API requests. But I've created a web tool https://www.pay4saas.com/tools/paypal-manager that you can use directly. Here are the steps.
-
Use the CLIENT ID and Secret obtained in the first step to get the
Access Token(the database doesn't store this data).
-
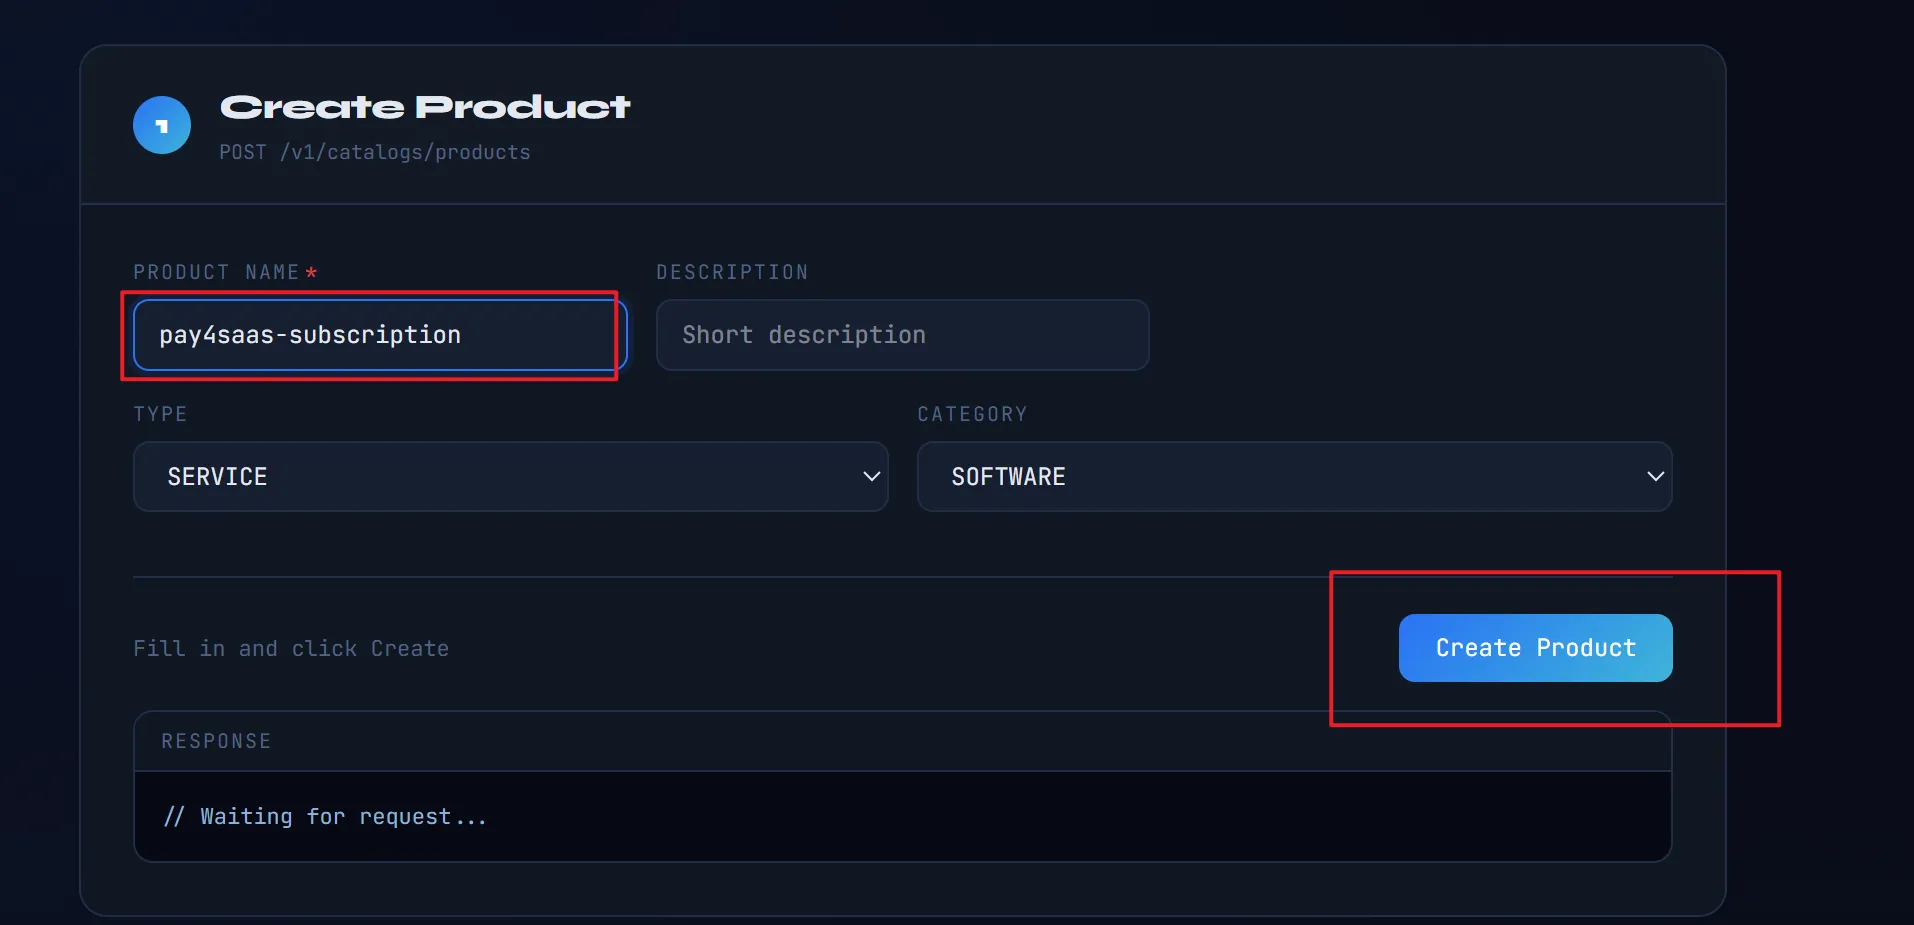
Fill in the Product Name and click Create. By default, it will use the token to create a product, and all subsequent Plans will be bound to this product.
-
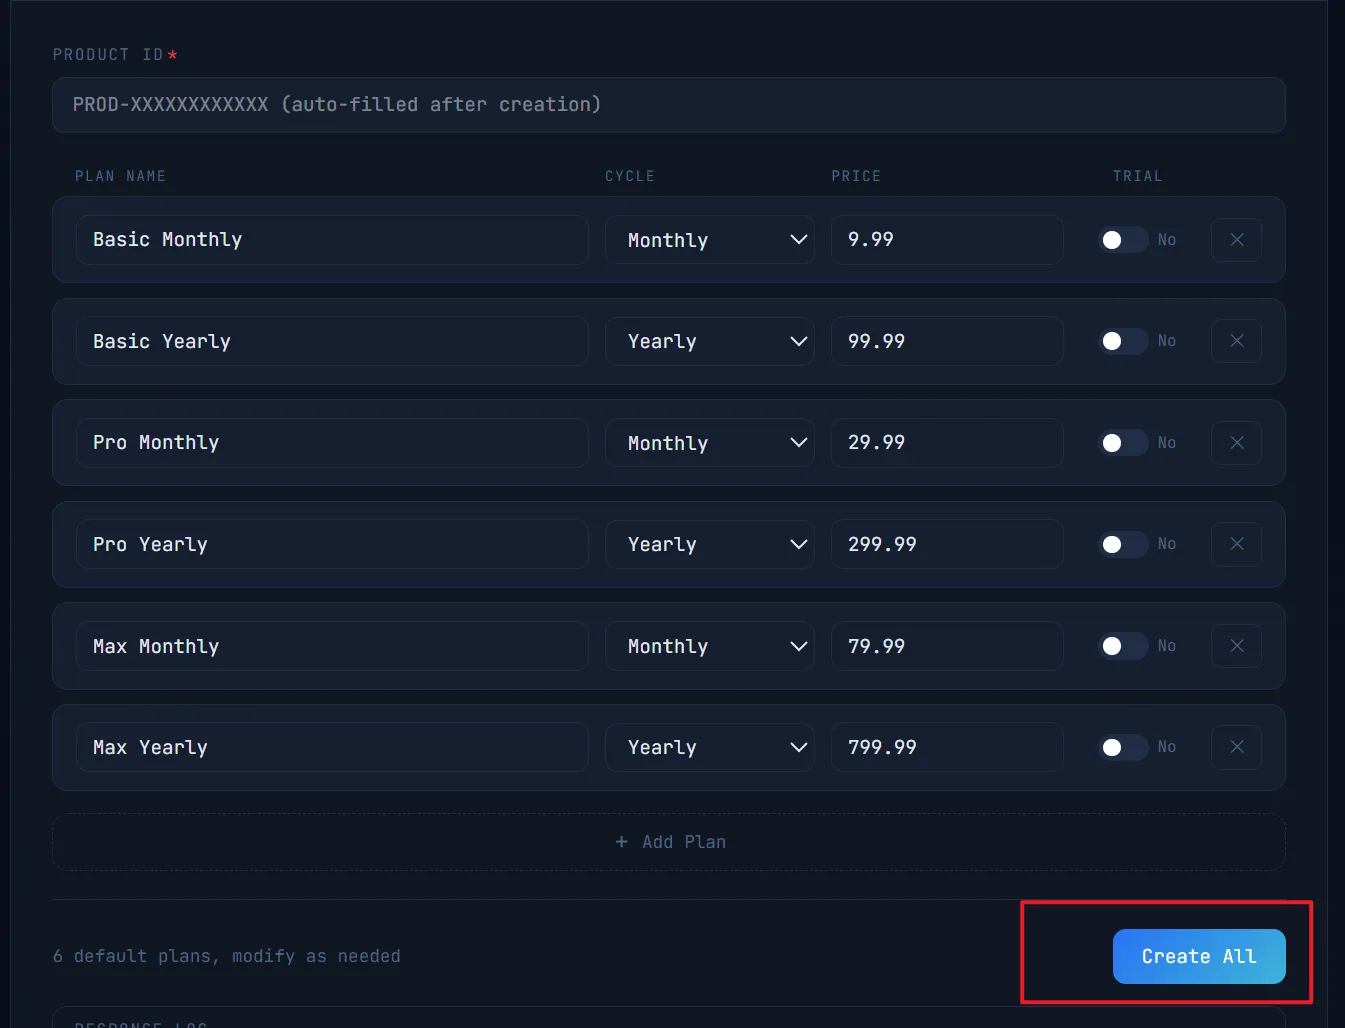
Batch create Plan products. Fill in the name, select the period, fill in the price, and if there's a trial, fill in the trial days, then click Create All. By default, it will batch create Plans based on the Product ID. It depends on your project, but typically there are monthly/yearly pairs.
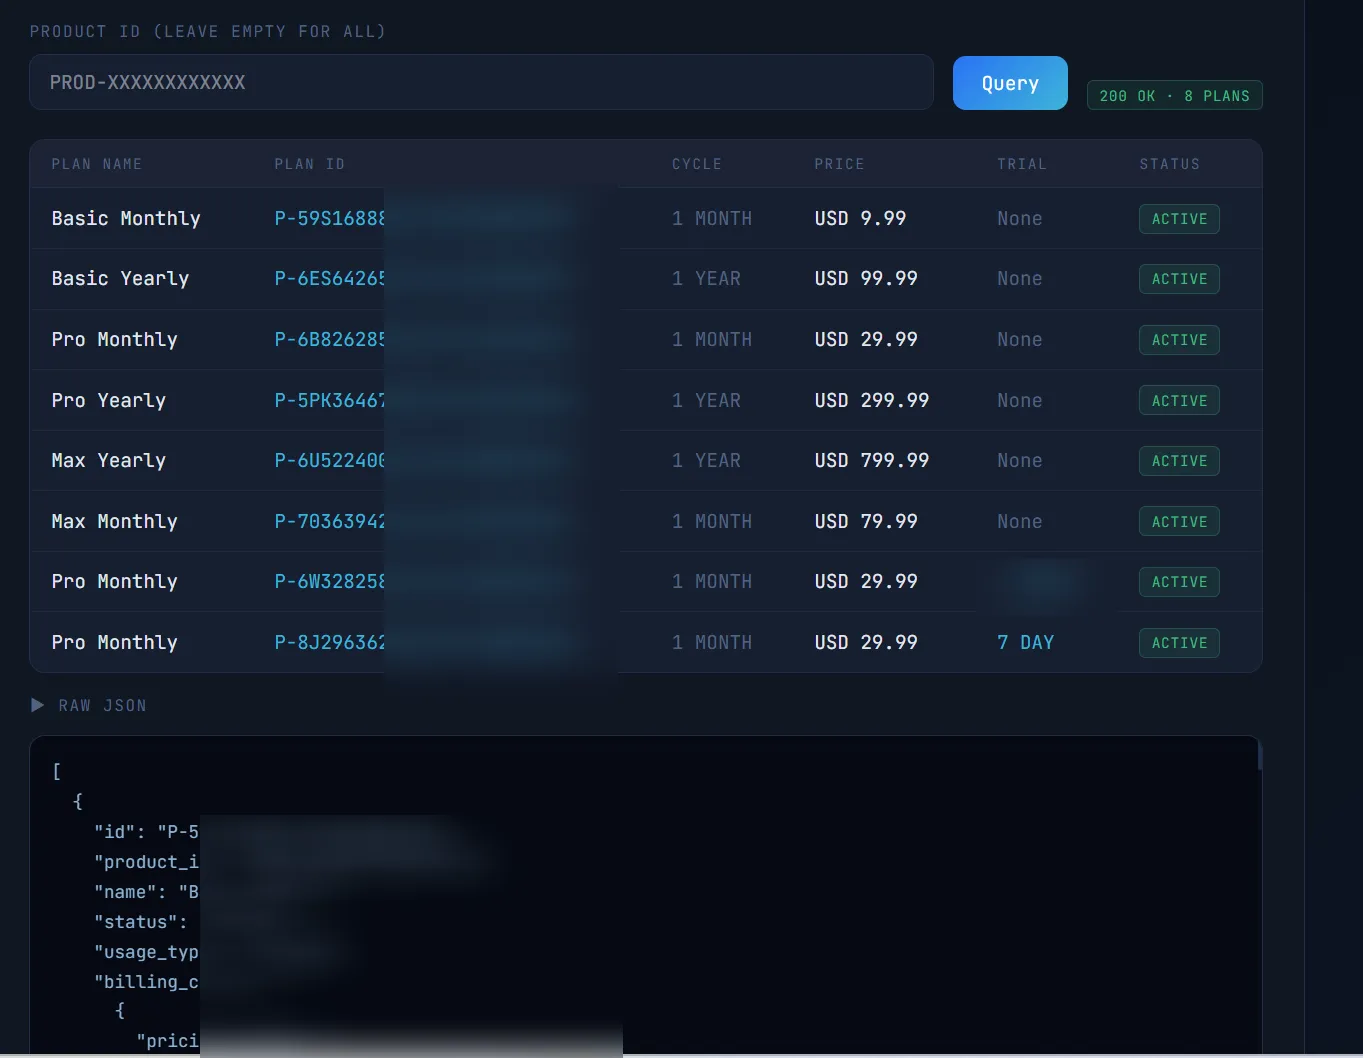
- After successful creation, query to check if they were created correctly. Each Plan will have a corresponding
product_id. Record all the returnedids and write them into the.env.productionfile.
# subscription subscription_unlimited/subscription_quota

PAYPAL_SUB_BASIC_MONTHLY=xxx
PAYPAL_SUB_BASIC_YEARLY=
PAYPAL_SUB_PRO_MONTHLY=
PAYPAL_SUB_PRO_YEARLY=
PAYPAL_SUB_MAX_MONTHLY=
PAYPAL_SUB_MAX_YEARLY=
PAYPAL_SUB_NOTRIAL_PRO_MONTHLY=
I want to specifically mention the PAYPAL_SUB_NOTRIAL_PRO_MONTHLY field in unlimited subscription. It must be set, otherwise users can keep trialing for free indefinitely. For details, see this article PayPal & Creem Trial Period Best Practices. So we need to provide a no-trial product for users who have already trialed. This is both logical and provides the best user experience.
Quota subscriptions don't have trials because they're mainly subscription + credit-based.
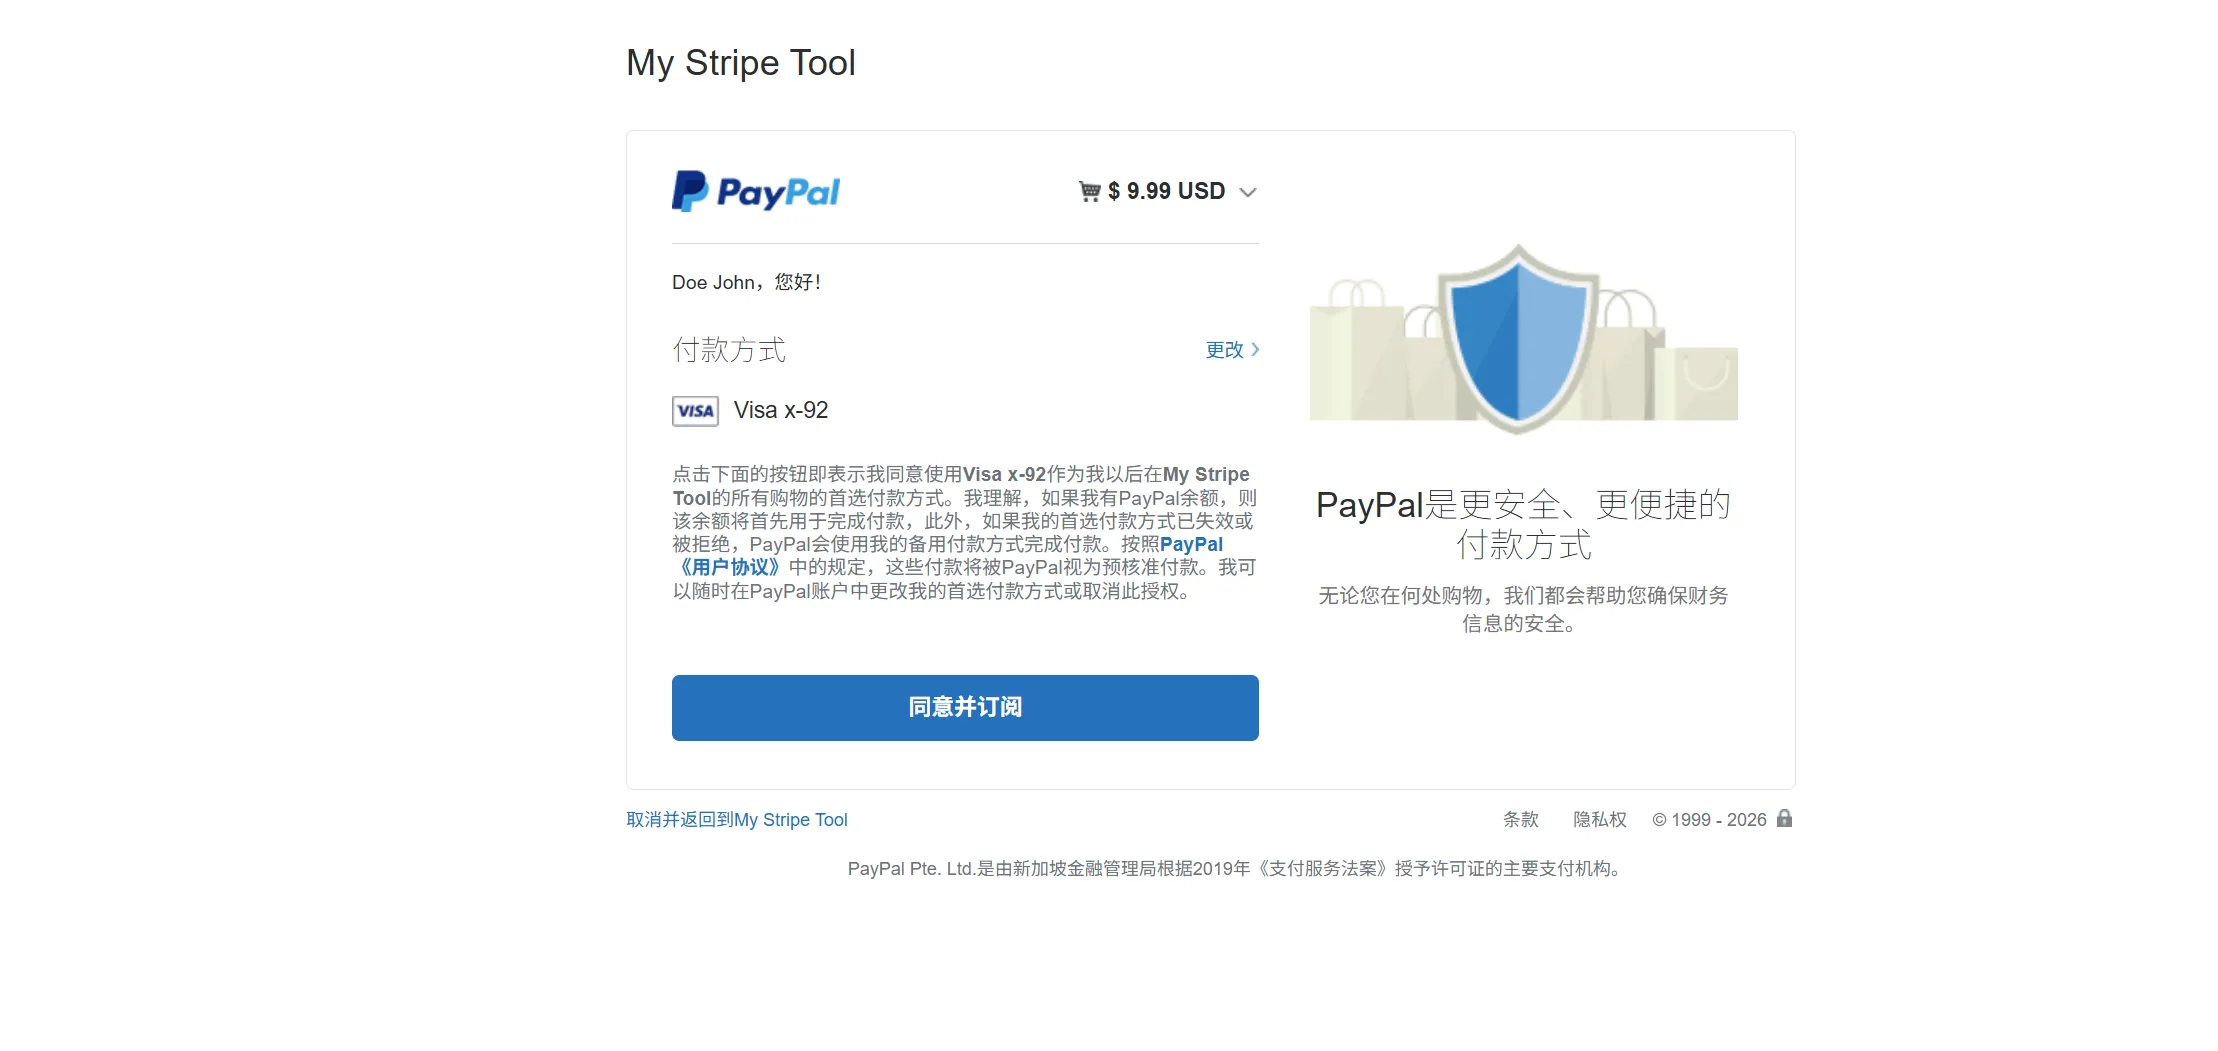
The final subscription payment effect is shown below, opening in a new page.
The credits mode and lifetime mode effect is shown below, opening the payment window on the current page.
 When testing, also carefully check whether the amount is set correctly.
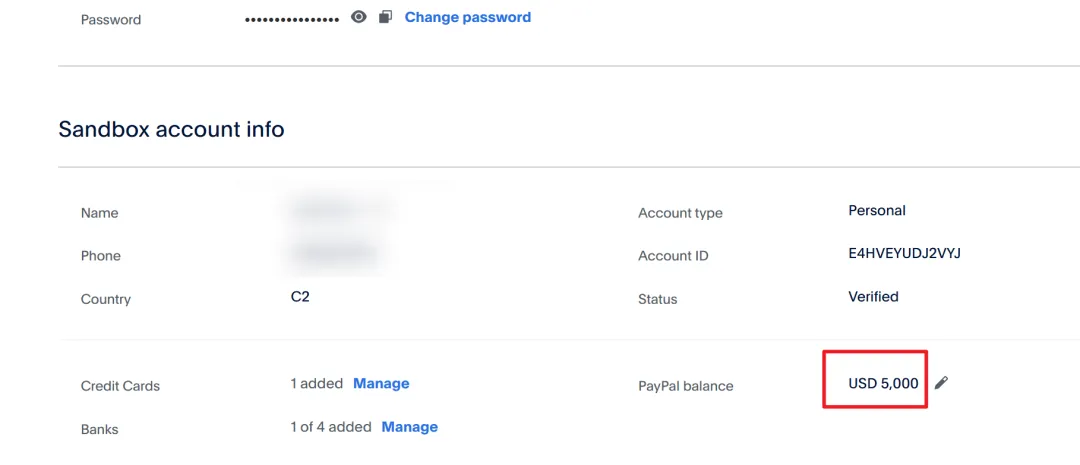
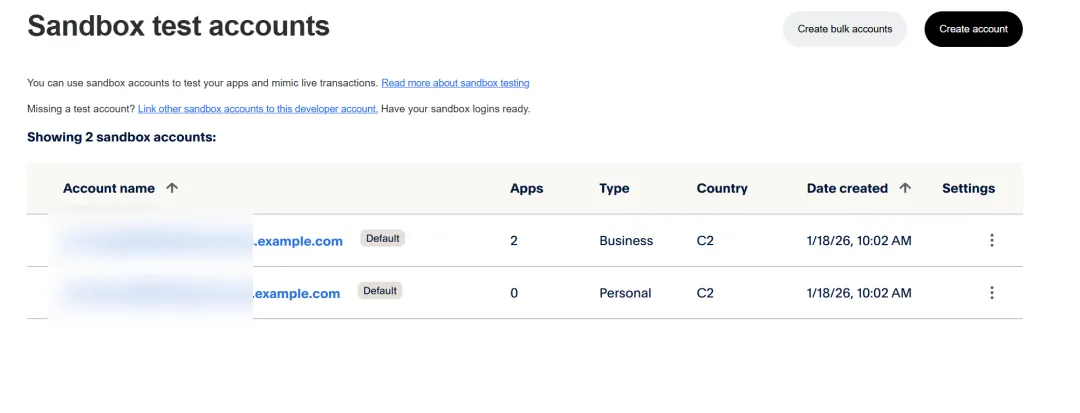
II. Test Account Balance Modification
Address: https://developer.paypal.com/dashboard/accounts/
The first row is for merchants, the second is for individuals, which is sufficient.
Looking at the test account, it has $5,000 by default and can be increased to $10,000. When it's used up, just edit it from here again.